


Top Tips to Help Your Older AC Last Another Season

Do you have an older air conditioner that is limping along? It’s not uncommon for older air conditioners to break down as they age. The team at Getzschman Heating and Air Conditioning has gathered some AC troubleshooting tips to hopefully help your unit last one more season.
AC Troubleshooting Tips
In our experience there are two main problems our customers encounter with air conditioners:
- It won’t turn on
- It runs, but won’t cool
The following troubleshooting tips can help you beat the heat and get back to enjoying cool air in your home.
Your AC Won’t Turn On
If your AC is not kicking on, you have several things to check:
Thermostat – check your thermostat to make sure that it isn’t set to the heat or off position. Don’t forget to check and make sure that the batteries in your thermostat are not dead.
Tripped Breaker – check your electrical panel to make sure that the breaker connected to your AC hasn’t been tripped.
Power Switch – look to see if the power switch on the side of your furnace is turned on.
The AC Is On, but the Air Isn’t Cool
Dirty Air Filter – A dirty air filter can cause this problem. Check your filter to see how dirty it is and replace it if necessary. We recommend changing your filter once a month to ensure proper airflow and cooling.
Ice Accumulation – Ice in the outdoor unit can also cause your AC to run sluggishly. If you see ice you should turn off the AC and allow it to thaw for a couple of hours.
Clogged Condensate Drain – If you are still having trouble, consider cleaning out the condensate drain. Algae tends to build up in these pipes and will cause your AC to fail.
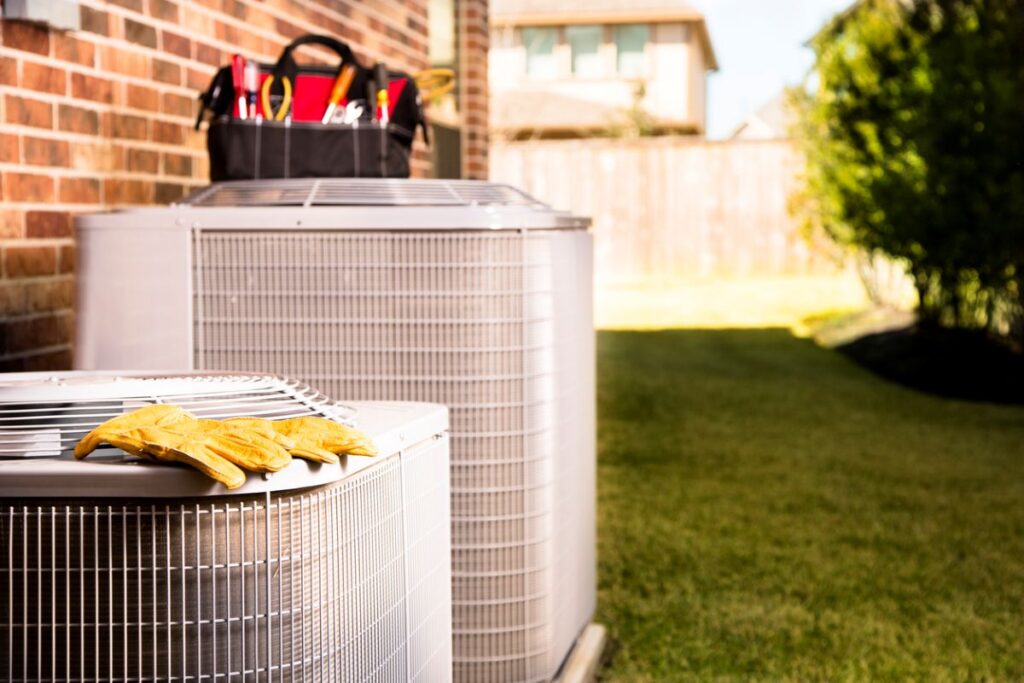
Check Your Condenser Unit Outside
Don’t forget your air conditioner has another piece – outside. The condenser unit outside can sometimes be the problem. Look for these three issues:
A safety precaution first – The condenser is a 240-volt box and we don’t want anyone getting hurt, so turn off the power to it at the electrical panel before working on it. Also turn off the disconnect box located outside, near your unit. It will either be a lever, fuses, or a circuit breaker to shut off the condenser. Then, allow about 30 minutes for the electrical charge that’s stored in the condenser’s capacitor to dissipate. Okay, now it’s safe to check the unit. We recommend letting one of our qualified technicians look over these items.
Clear Debris – Make sure the unit is clean and clear of debris. Clear away dirt, leaves, etc. Check the fan to make sure it is clear of debris as well.
Clogged Drain – Check the drain and make sure it is clear.
Broken Coolant Lines – Check the coolant lines (pipes that connect the condenser unit outside to the evaporator on the inside unit). They can get bumped around being outside.
Turn the unit back on. First, turn the thermostat in your home to OFF. Then turn on the power at both the disconnect box and at the main panel. Last, switch the thermostat to COOL. Give it some time and see if you feel cool air blowing from the ducts. You can also check your outdoor unit to see if the air blowing out the top is warmer than the surrounding air.
How to Know When Your AC Repairs Aren’t Worth It
Homeowners struggle with knowing when it makes more sense to replace their unit than repair it again. Look for these signs. If your unit is 10-12 years old, you’ve paid for three or more repairs over the last two years, your energy bills seem excessive and/or you are experiencing uneven cooling or certain rooms feel uncomfortable, then it’s time for you to consider replacing your limping unit. Good news - we have a simple formula to help you calculate when it’s time.
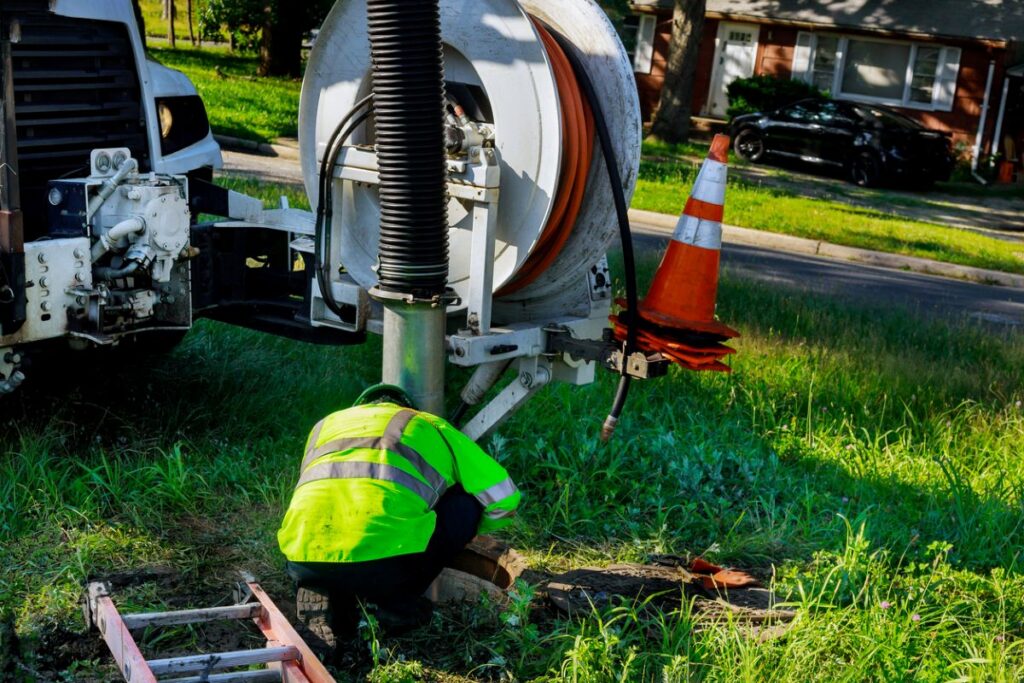
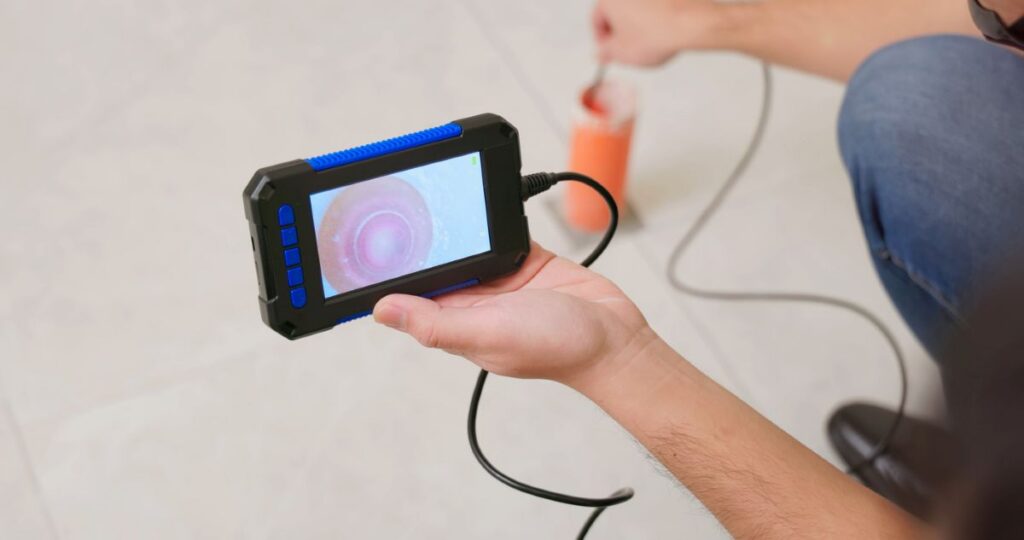
NOTE: Sometimes hot spots can be due to poor ductwork. We can inspect your ducts and make adjustments if that is the case.
How to Use Our $5,000 Rule Formula
Multiply the age of your AC unit by the repair cost, and if that exceeds $5,000, then replace the unit. If it’s less, go ahead and repair it.
Here is an example, if your unit is 10 years old and the repair will cost $250, multiply 10 x 250 to equal $2,500. It is less than $5,000, so it’s okay to have it repaired.
The Cost of Freon Is Rising
If your repair involves adding Freon (coolant used in most older systems) because of a leak, you will have to add more every year. That can be costly because the price for Freon is rising each year because of the EPA ordering the phasing out of Freon as part of an international treaty focused on protecting the ozone layer around 25 years ago. Production ended in 2010 for new air conditioning units. Production has also been reduced in subsequent years. By 2020, production of Freon will end completely, so the price will only continue to rise.
Try these tips. If they don’t work, let Getzschman Heating and Air Conditioning help with your AC needs. Call us today at (402) 235-6727 or contact us online.